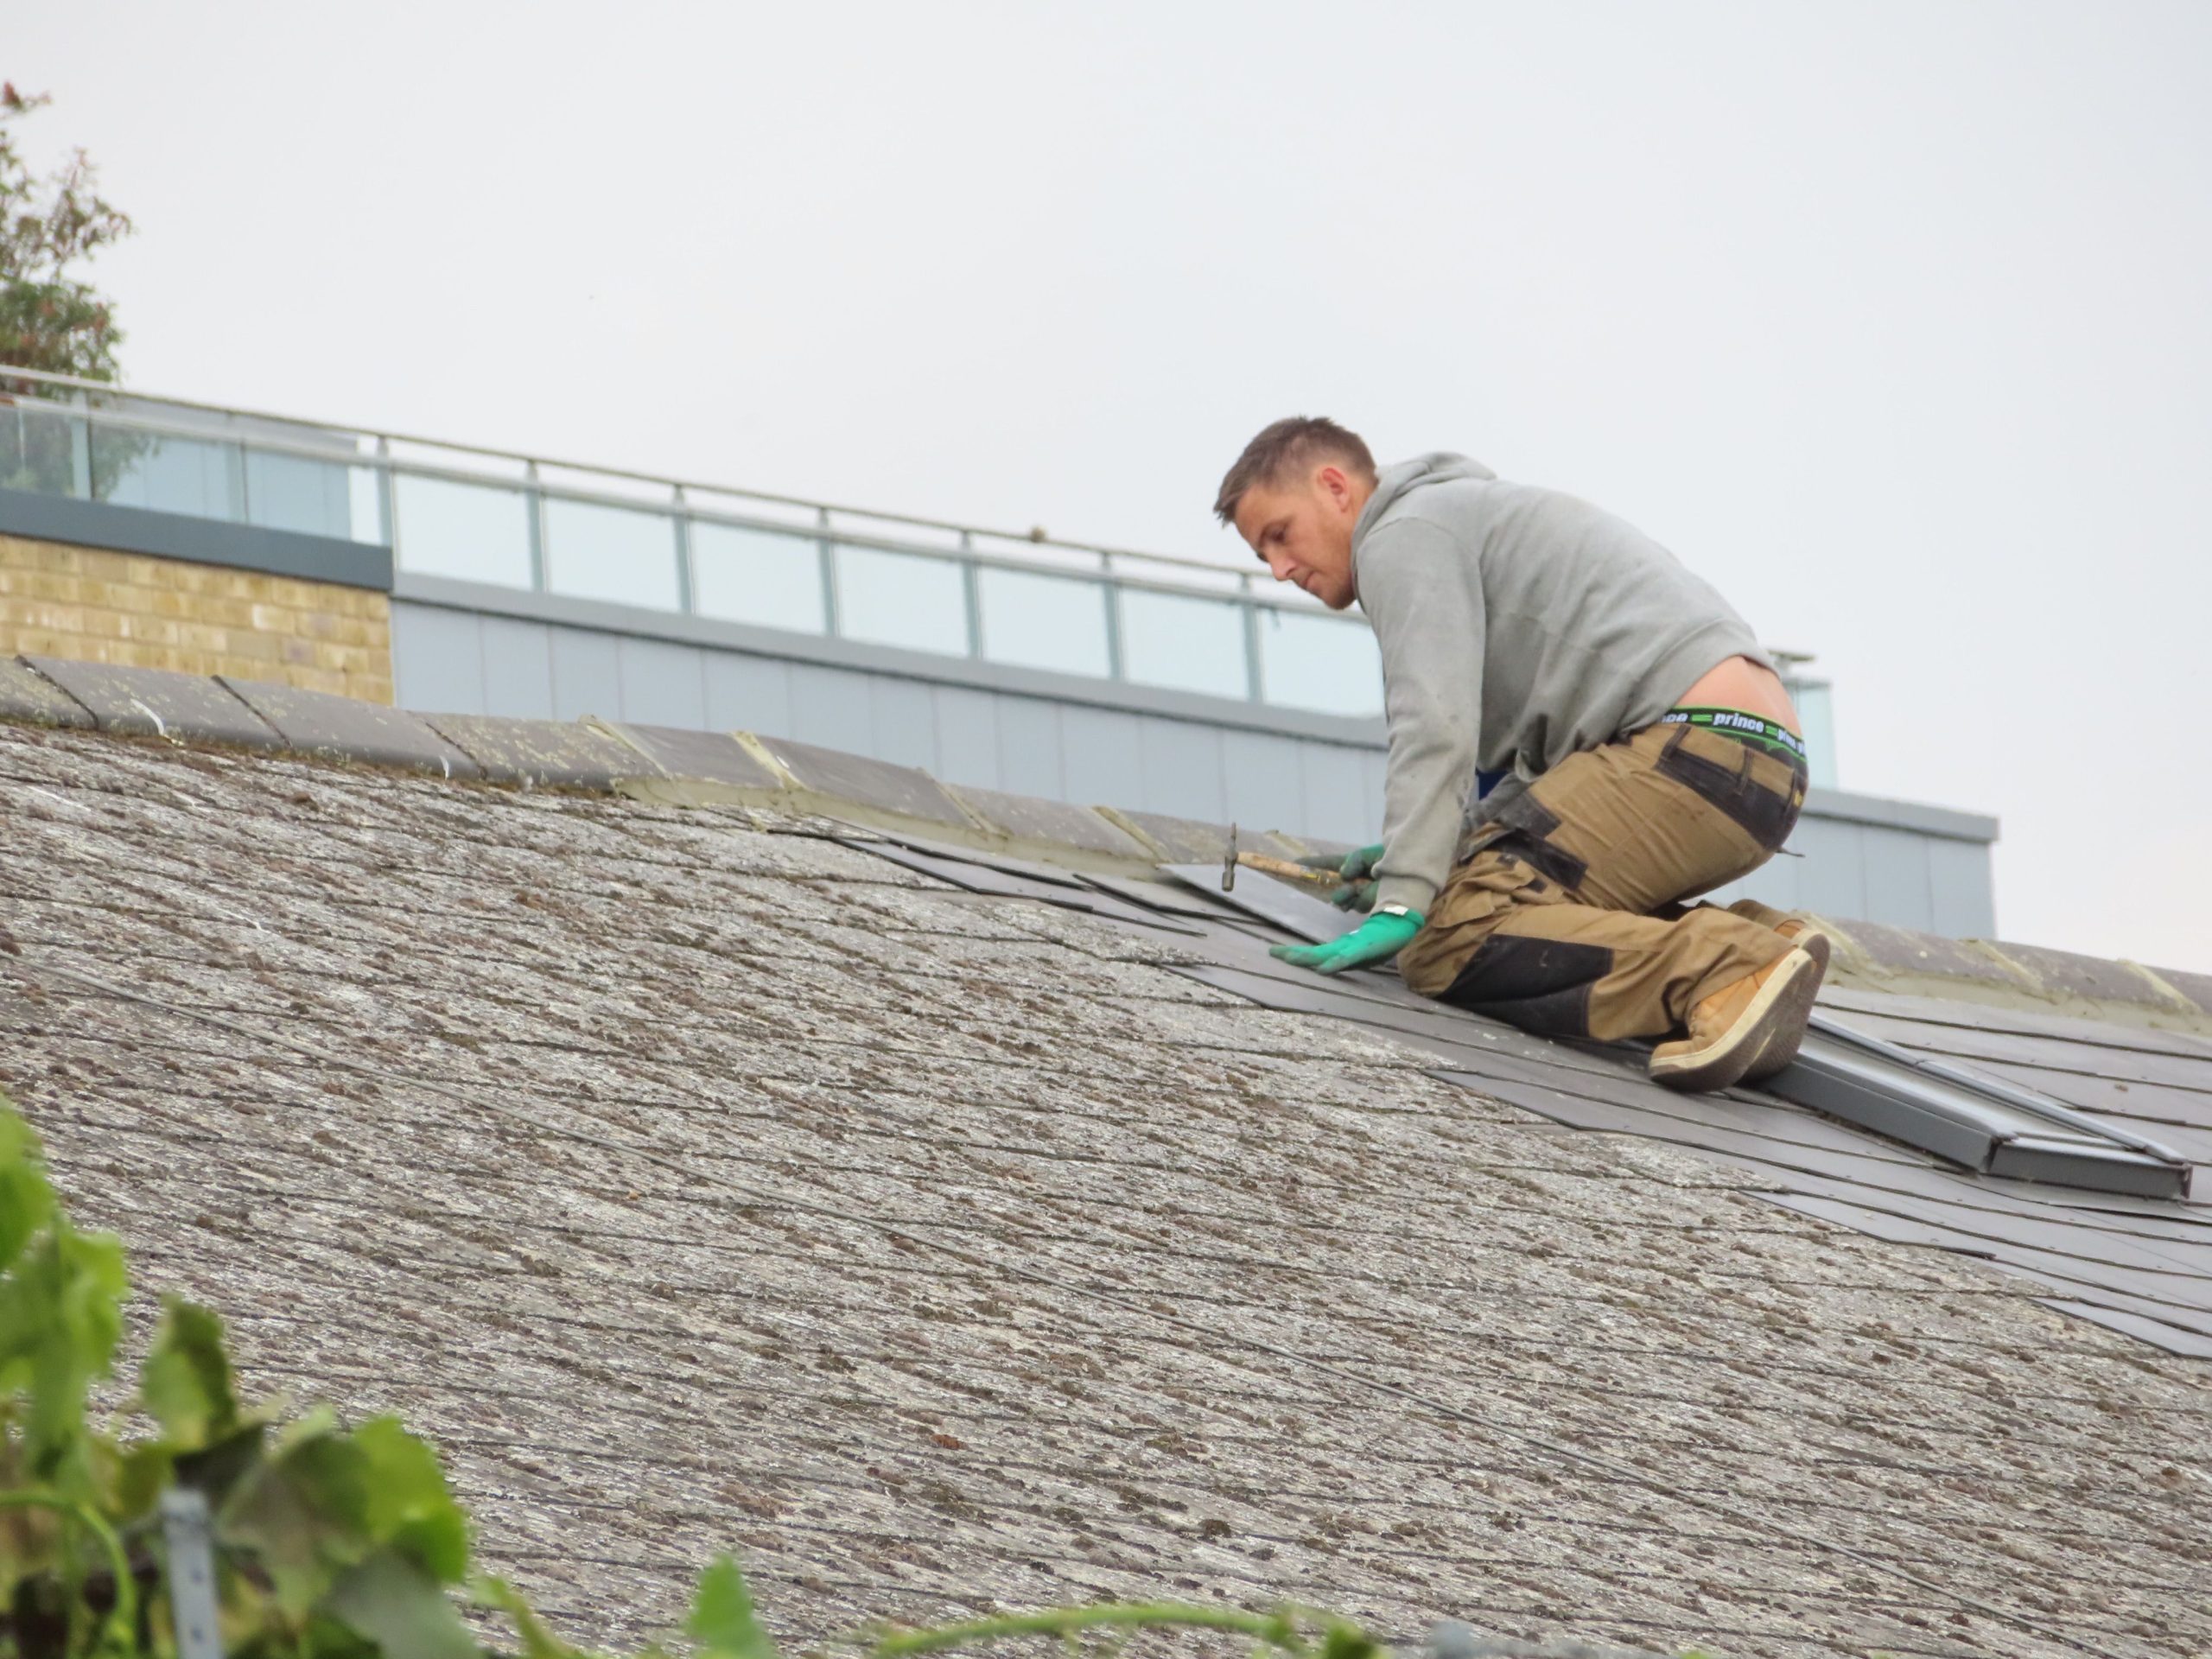
Key Takeaways
- A quick visual check twice a year, plus after any major storm, catches small problems before they become expensive repairs.
- Spring and fall are the ideal windows for a thorough look because temperature extremes and heavy weather have either just passed or are about to arrive.
- You can do most of the checking from the ground with binoculars, inside the attic, and by walking the perimeter of your home.
- Missing granules, curling shingles, rusted flashing, and sagging gutters are early warning signs that should never be ignored.
- Attic clues like water stains, daylight through boards, or a musty smell often reveal issues long before they show up outside.
- Hiring a professional once a year is worth the modest cost, especially for older roofs or after severe weather.
- Keeping a simple written log of each check helps you spot patterns and plan repairs before leaks start.
Why Your Roof Deserves More Attention Than You Think
Most homeowners only think about their roof when something goes wrong. A drip in the hallway. A shingle in the flower bed after a windy night. A sudden stain on the ceiling that definitely was not there last week. By the time any of those things happen, the real problem has usually been brewing for months or even years.
The truth is, your roof is working hard every single day. Sun, wind, rain, ice, falling branches, nesting critters, and even temperature swings between day and night all chip away at it. Nothing up there is designed to last forever, and small issues almost always grow into bigger ones if nobody notices them.
The good news? Keeping tabs on your roof is not complicated. You do not need to be a contractor, and you do not need to climb up and walk around on it. With a simple routine and a sharp eye, you can catch most issues early and add years to the life of what is probably the most expensive single part of your home.
What a Roof Inspection Actually Is

A roof inspection is just a careful, methodical look at your roof and the parts of your home connected to it, with the goal of spotting damage, wear, or weak points before they turn into expensive problems. That is it. It is not a repair, and it does not require tearing anything apart, pulling shingles, or cutting into decking. You are simply gathering information so you can make smart decisions about maintenance, timing, and budget. Think of it less like surgery and more like a yearly physical for your home’s most exposed surface.
There are two kinds of inspections worth knowing about, and both play a role in solid roof damage prevention. The first is the DIY kind you do yourself from the ground, a ladder, or your attic, usually with nothing more than a pair of binoculars, a flashlight, and your phone camera. The second is a professional inspection, where a trained contractor physically walks the roof surface and examines flashing, vents, penetrations, valleys, ridge caps, soffits, fascia, and the underlying structure for signs of rot, lifted fasteners, or hidden moisture. DIY checks are great for catching obvious issues early and tracking changes over time, while professional checks catch the subtle problems an untrained eye will almost always miss. Both have a place in a smart maintenance routine, and knowing how often should you inspect your roof using each method is the foundation of a plan that actually works.
The Difference Between Looking and Really Checking
Glancing at your roof from the driveway on your way to the car is not an inspection. That is a passing look, and it will only catch the most dramatic damage, like a shingle flapping in the wind or a branch sticking out of your gutter. A real check means walking the full perimeter of the house, scanning each slope slowly from multiple angles, noting the condition of every visible component, and comparing what you see now to what you saw last time. You are looking for curled or cupped shingles, dark streaks, missing granules collecting in the gutters, bent or rusted flashing, cracked sealant around vent pipes, sagging rooflines, and any spot where the surface looks different from the areas around it.
If you take a few photos during each round, ideally from the same spots and angles every time, you build a visual history that makes changes much easier to spot. A shingle that looked fine six months ago but now shows a dark corner is a clue you would never catch from memory alone. Keep those photos in a dedicated folder on your phone, labeled by date, and you will have both an early-warning system and a useful record to hand to a contractor or insurance adjuster if you ever need one.
How Often Should You Check Your Roof
So, how often should you inspect your roof to actually stay ahead of problems? For most homes, the answer is at least twice a year, with extra checks after any big weather event. According to the National Roofing Contractors Association, professional inspections should happen in both spring and fall, with an additional look after severe storms. That cadence works just as well for the DIY checks you do yourself.
Spring is the time to see what winter did. Ice, snow weight, and freeze-thaw cycles are brutal on shingles and flashing. Fall is about getting ready for the next round of harsh weather while the sun is still cooperative enough for safe inspecting. Twice a year is the baseline, not the maximum.
A quick checklist of when to add an extra inspection:
- After any windstorm with gusts over 50 mph
- After a hailstorm, even if the hail seemed small
- After a heavy snowfall or ice buildup
- After a nearby tree loses a large branch
- After any work done on your roof, chimney, or satellite dish
- Before and after you buy a home
A yearly professional check is also smart. This Old House notes that most experts suggest having a pro look at your roof once per year, which pairs nicely with your own seasonal rounds.
Your Ground-Level DIY Checklist
Before you touch a ladder, do a full lap around your home. A lot of problems reveal themselves from the ground if you know what to look for. Grab a pair of binoculars and take your time. This step alone makes a huge difference in roof damage prevention because it catches surface issues early, when fixes are small and cheap.
Walk slowly around the entire perimeter and look up at each slope. Then look down. The ground tells stories too, like shingle granules collecting at the base of downspouts or pieces of flashing in the garden beds.
Here is what to scan for during your walkaround:
- Shingles that are curling, cracked, or missing
- Dark streaks or patches that could mean algae or moisture
- Shiny spots where protective granules have worn away
- Sagging areas along the roofline
- Rust or gaps around chimneys, vents, and skylights
- Gutters pulling away from the house or clogged with debris
If anything looks off, zoom in with binoculars or your phone camera. Take photos and compare them to the last round of pictures you took. For a deeper dive into the small habits that protect your roof year after year, these essential roof maintenance tips are worth bookmarking.
Clues You Can Only Find in the Attic
A huge amount of roof trouble is invisible from outside. The attic is where leaks often show up first, long before any water reaches your ceilings below. Pick a sunny day and bring a flashlight. Turn off the attic light once you are inside.
What Daylight and Dark Stains Are Telling You
If you see pinpricks of daylight through the roof boards, that is a hole. It might be from a missing nail, a cracked board, or a gap at the flashing. Water will find any of those openings during the next rain. Dark stains on the wood, especially around vents, chimneys, or the ridge, usually point to past or current leaks.
Also run your hand along the insulation. Damp or compacted insulation is a red flag. A musty smell is another. Rodent droppings or chewed material mean something has been getting in, which almost always means there is an entry point you need to find and seal.
Spotting Trouble Signs Before They Spread
Some warning signs are obvious. Others are easy to brush off until they become disasters. Learning to read the subtle ones is what separates a homeowner who replaces a few shingles for pocket change from one who faces a surprise insurance claim.
Granule loss is one of the most important early signals. Asphalt shingles have a protective mineral coating, and when that wears off, the shingle underneath starts breaking down fast. In real-world conditions, RealtyTimes points out that most asphalt shingle roofs last between 20 and 30 years, so if yours is approaching that range, pay extra close attention to granule buildup in your gutters.
Other trouble signs to catch early:
- Soft or spongy spots felt from inside the attic
- Shingles that lift easily when a breeze passes under them
- Nails backing out and sitting proud of the surface
- Caulk around flashing that has cracked or pulled loose
- Moss growing in the shaded sections of the roof
- Gutter seams dripping during a light rain
Treat each of these as a prompt to look closer, not a reason to panic. Most of them have simple fixes if you address them within a season or two.
How Weather Patterns Change What You Should Watch For
A roof in a dry desert climate ages differently than one in a coastal area or a snowy mountain town. UV exposure dries out shingles and makes them brittle. Salt air corrodes metal flashing and fasteners. Heavy snow puts stress on the structure and encourages ice dams at the eaves. Match your inspection focus to the weather you actually get, not a generic checklist.
If you live somewhere with wild temperature swings, pay extra attention to anything sealed with caulk or rubber. Those materials contract and expand constantly, and they give up long before the shingles around them do.
When to Call in a Professional
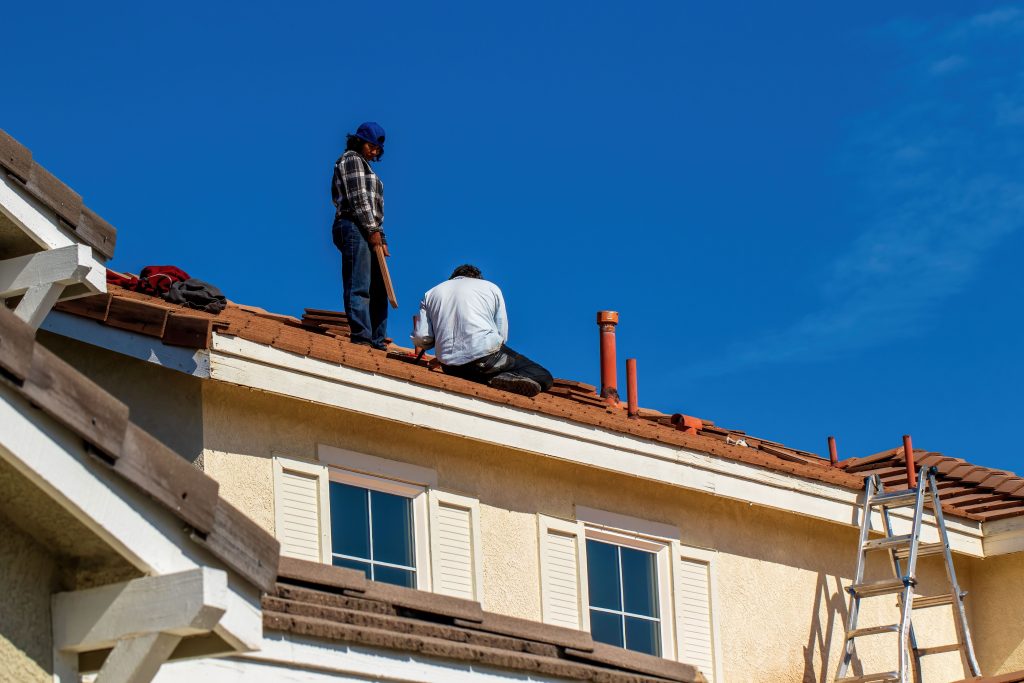
DIY checks are powerful, but they have limits. You cannot safely see the center of a large roof from the ground, and you cannot assess the condition of the underlayment without lifting shingles. That is where a licensed roofer earns their fee.
Call a pro if any of the following apply:
- Your roof is more than 15 years old and has never been professionally inspected
- You see multiple missing or badly damaged shingles
- There is any active leak, no matter how small
- You just bought the home and have no inspection history
- A major storm hit and you want documentation for insurance
- You spot sagging, which can indicate structural issues below the surface
A good contractor will walk the roof, check areas you cannot see, and give you a written report. Keep that report with your own inspection notes so you have a complete record over time.
Building a Simple Inspection Log
A notebook, a shared phone note, or a basic spreadsheet all work equally well. The point is consistency, not fancy software. Record the date, the weather leading up to the check, what you looked at, and anything that stood out. Attach or reference the photos you took.
Over a few years, this log becomes genuinely valuable. You will notice that a certain vent always seems to loosen, or that one slope sheds granules faster than the others. Patterns point to root causes, and root causes are what you want to fix rather than chasing symptoms every spring.
A workable log entry includes:
- Date and season of the check
- Recent weather, including any storms
- Areas inspected from the ground, attic, and ladder
- New issues found and photos taken
- Follow-up actions planned or completed
- Date of the last professional inspection
Keep the log somewhere you will actually find it again. A folder in your email or cloud drive beats a loose paper in a kitchen drawer every time.
Conclusion
Your roof does not ask for much. A couple of careful looks each year, an extra check after wild weather, and a yearly visit from someone who does this for a living are enough to keep most homes dry and solid for decades. The homeowners who stay ahead of roof problems are not the ones with the newest shingles or the biggest budgets. They are the ones who look.
Start with the next change of season. Walk the perimeter, grab the binoculars, climb into the attic with a flashlight, and jot down what you see. If something looks questionable, take a photo and compare it to what you find three months later. That slow, steady attention is what turns a roof into a reliable part of your home instead of a source of surprise expenses.
The checklist above is a starting point, not a rulebook. Adapt it to your climate, your roof’s age, and the quirks of your particular house. Over time, you will build an instinct for what looks right and what does not, and that instinct is the single most valuable tool any homeowner can have when it comes to protecting the structure overhead.
